Blogs · Beginner guide
What is REW? Car audio DSP tuning for beginners
You just installed your first digital signal processor (DSP). Everyone says “just use REW”. Here is what that actually means, and a simpler way to get from measurements to a tune.
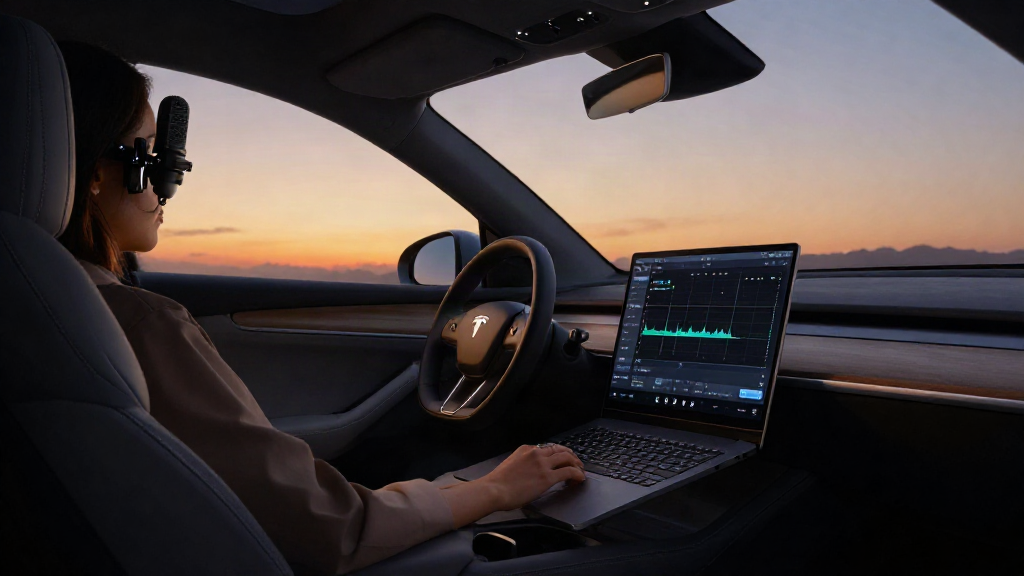
You just installed your first digital signal processor (DSP) in your car. The sound is cleaner already, but everyone in the forums keeps saying the same thing: “Just use REW.”
Great advice, except nobody tells you what REW actually is, let alone how to use it for car audio tuning. If you are staring at a download link for Room EQ Wizard wondering where to even begin, this guide is for you.
What is REW (Room EQ Wizard)?
REW stands for Room EQ Wizard. It is a free audio measurement and analysis tool created by John Mulcahy. Despite the name, REW is not just for home theater rooms. It is the industry standard tool for car audio DSP tuning, home studio calibration, and subwoofer integration.
At its core, REW does three things:
- Generates test signals: sweeps and pink noise that your system plays through the speakers.
- Measures what comes out: using a calibrated measurement microphone, REW captures how the cabin actually sounds.
- Visualizes the response: frequency response graphs show where the system is too loud, too quiet, or ringing at a particular frequency.
The result is a graph that looks like a mountain range. Your job as a tuner is to flatten those peaks and fill in the valleys. That is where DSP tuning comes in.
Why car audio enthusiasts use REW
Your car is one of the worst possible listening environments. Glass reflects high frequencies. Door panels rattle. The driver seat is off center. Carpets absorb midrange. Every vehicle has a unique acoustic fingerprint, and the built in EQ on your head unit can only do so much.
A DSP lets you apply precise corrections per channel. But to know what to correct, you need measurements. REW provides those measurements with detailed frequency analysis. It is what professional installers and competition level tuners use to dial in systems that sound genuinely great, not just loud.
For the DIY car audio enthusiast, REW is the difference between guessing at your EQ settings and knowing exactly what your system needs.
The problem: REW’s steep learning curve
Here is the honest truth nobody tells you: REW is powerful, but it was not designed for car audio beginners.
The interface was built for acoustic researchers and home theater calibrators. The terminology assumes you already understand concepts like impulse response, windowing, decay time, and harmonic distortion. When you open REW for the first time, you are greeted with a dense array of buttons, dropdowns, and graph options with no guided workflow.
Common beginner pain points include:
- Generating the right sweep: too short and your measurement is inaccurate. Too long and it picks up ambient noise.
- Setting correct input/output levels: clipping invalidates your measurement, but running too low introduces noise floor issues.
- Aligning the timing reference: without a loopback or acoustic timing reference, time domain data is not trustworthy.
- Interpreting the graph: REW offers many graph types, and knowing which to read for EQ decisions takes experience.
- Generating EQ filters: once you have a measurement, getting REW to output usable filter values for your specific DSP means navigating multiple menus and understanding filter types (peak, notch, shelving, high pass, low pass).
None of these steps is impossible on its own. But repeating them across four, six, or eight channels quickly turns a weekend tuning session into a weeks long project.
What manual REW tuning actually looks like
If you are new to this, here is the step by step reality of tuning a car audio DSP with REW the manual way:
- Set up your measurement microphone at the listening position (driver headrest, pointing forward).
- Connect the microphone to your laptop via USB and configure REW to recognize it.
- Set a timing reference: a loopback from the DSP, or an acoustic timing reference.
- Set your DSP to full range, no EQ, no crossover, and play a calibration sweep.
- Measure each channel individually: left, right, subwoofer, rear fill.
- Adjust delays until the arrivals line up (time alignment).
- Apply smoothing and windowing to the frequency response graph.
- Manually add EQ filters in REW’s EQ window, one peak filter at a time, to flatten the response.
- Export the filter values and manually enter them into your DSP software.
- Measure again to confirm the corrections worked.
Step 8 is where most beginners get stuck. REW’s auto EQ feature exists, but it is buried in menus and its output may not match your DSP’s filter format. So you end up reading filter frequencies, Q values, and gain levels off the screen and typing them into your DSP one at a time.
For a single channel, this might take 15 minutes. For a full active system with six or eight channels, you are looking at two to four hours of repetitive data entry alone.
How a purpose built workflow changes the game
This is where the gap between “REW is powerful” and “REW is practical” becomes obvious. The measurement science is sound. The bottleneck is the manual translation between what REW measures and what your DSP needs.
A purpose built tuning workflow bridges that gap. It uses the same REW measurement engine (RTA, frequency response analysis, EQ matching) and wraps it in a guided process designed for car audio. Instead of navigating REW’s general purpose interface and transcribing filter values by hand, a simpler workflow lets you:
- Capture one driver at a time with RTA and pink noise, while you solo that channel in the DSP.
- See the frequency response immediately with car audio appropriate smoothing already applied.
- Auto generate EQ filters that match your DSP’s equaliser and band count.
- Set time alignment from listening position distances, not an impulse response pick.
- Recapture after EQ to set levels, with an optional regain if the tune lost output. That is a second pass, not one click that measures everything again.
The underlying measurement technique is the same. The difference is removing the friction between data and action.
Why this matters for beginners
If you are new to car audio DSP tuning, your goal is not to become a certified acoustics engineer. Your goal is to make your system sound good. REW is an essential tool for getting there, but it was never designed as a beginner friendly tuning interface.
Learning the basics of frequency response and time alignment is valuable. It makes you a better tuner and a more informed buyer. But wrestling with REW’s menus for hours is not a rite of passage. It is a barrier.
The smart approach is to understand what REW does and why it matters, then use a workflow that applies that same measurement science without the overhead. That is how you go from “I installed my first DSP” to “my car sounds incredible” in a fraction of the time.
Ready to stop fighting REW?
If this guide resonated with you, you are exactly who Flat Liner Tuning was built for. It drives the same REW measurement engine (RTA, frequency response, EQ filter generation) and wraps it in a guided car audio workflow. No buried menus. No typing filters by hand. Measurements that turn into better sound, faster.
Stop fighting REW. Start tuning smarter.